
-
Prep Time45 minutes
-
Cook Time30 minutes
-
Serving12
-
Serv Size1 piece
These soft buttermilk donuts were one of our absolute favorite after-school treats growing up. My mom would often surprise us with a warm batch just as we stepped through the door, tired and ravenous from a long school day. The smell alone would pull us straight to the kitchen, where she’d have stacked those golden rings of joy topped with chocolate. Crisp on the edges and fluffy inside, they were the kind of simple comfort food that left a lasting memory.
Now, it’s my boys who wait eagerly for their turn to enjoy these. They love them just as much as we did, and at our house, we’ve made chocolate the default topping (because, let’s face it, everything’s better with chocolate). Whether you’re whipping up a batch for tea time or just looking for something quick and satisfying, this recipe is a sure hit across generations. Give it a try, and let me know how yours turn out!
Ingredients
For the Donuts:
For the Chocolate Fudge:
Directions
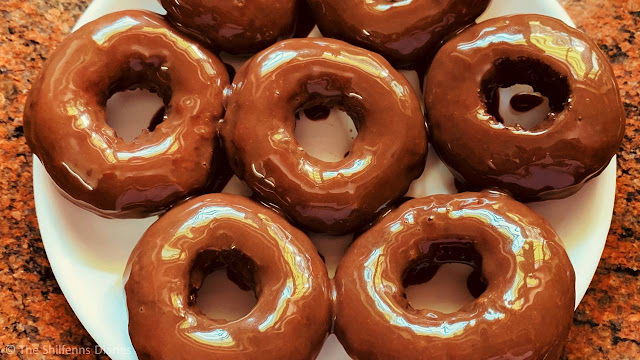
These indulgent chocolate-glazed donuts are soft, fluffy, and coated in a rich homemade fudge that adds just the right amount of sweetness. With a buttermilk-based dough and a glossy chocolate finish, they're a true treat for any occasion. Follow these step-by-step directions to bring this bakery-style delight into your own kitchen.
Make the dough: In a large bowl, mix all the ingredients listed for the dough and knead until you get a soft, pliable texture.
Let it rest: Cover the dough and let it rest for about 30 minutes to allow the gluten to relax.
Prepare the cocoa base: Sift the cocoa powder into a small bowl and dissolve it in 2 tablespoons of warm milk. Stir well to ensure a lump-free, smooth, and creamy mixture.
Start the fudge: In a thick-bottomed non-stick pan, gently heat the condensed milk and butter over a low flame.
Add cocoa mixture: Pour the cocoa-milk mixture into the pan and stir continuously to combine all ingredients into a glossy fudge.
Cook the fudge: Keep stirring the mixture and bring it to a gentle boil. Be sure to stir constantly and scrape the bottom to avoid burning.
Check for doneness: Drop a little fudge onto a cool saucer. If it sets and firms up once cooled, your fudge is ready.
Roll out the dough: Knead the dough again briefly. Then roll it out evenly on a lightly floured surface to about 1 cm thickness.
Cut the donuts: Use a donut cutter to shape the donuts. If you don't have one, use a large round cutter for the outer ring and a smaller one for the center hole.
Fry until golden: Heat oil in a deep pan over medium flame. Fry the donuts in batches until golden brown on both sides. Drain on paper towels.
Glaze with fudge: While the donuts are still slightly warm, dip them in the prepared fudge and place on a tray or rack to cool and set.

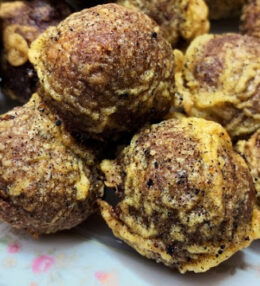
Bonus Treat: Make Donut Pops!: Ever wondered what happens to the cute little centers punched out of each donut? While they’re usually kneaded back into the dough for another batch, here’s a fun alternative: donut pops! Simply fry these bite-sized circles just like the regular donuts, then dip them in the same rich chocolate fudge. Let them cool and set, and you’ve got yourself the perfect party snack or after-school treat!
Conclusion
Once the chocolate glaze has set, your homemade donuts are ready to enjoy! Serve them fresh with a cup of coffee or a glass of cold milk. These donuts are best eaten the same day, but if you have leftovers, store them in an airtight container to keep them soft and delicious. The donut pops are fun to serve, even more fun to eat, and a great way to make sure no dough goes to waste! Happy snacking!

Leave a Review