-
Prep Time15 minutes
-
Cook Time1 hour
-
Serving12
-
Serv Size1 piece
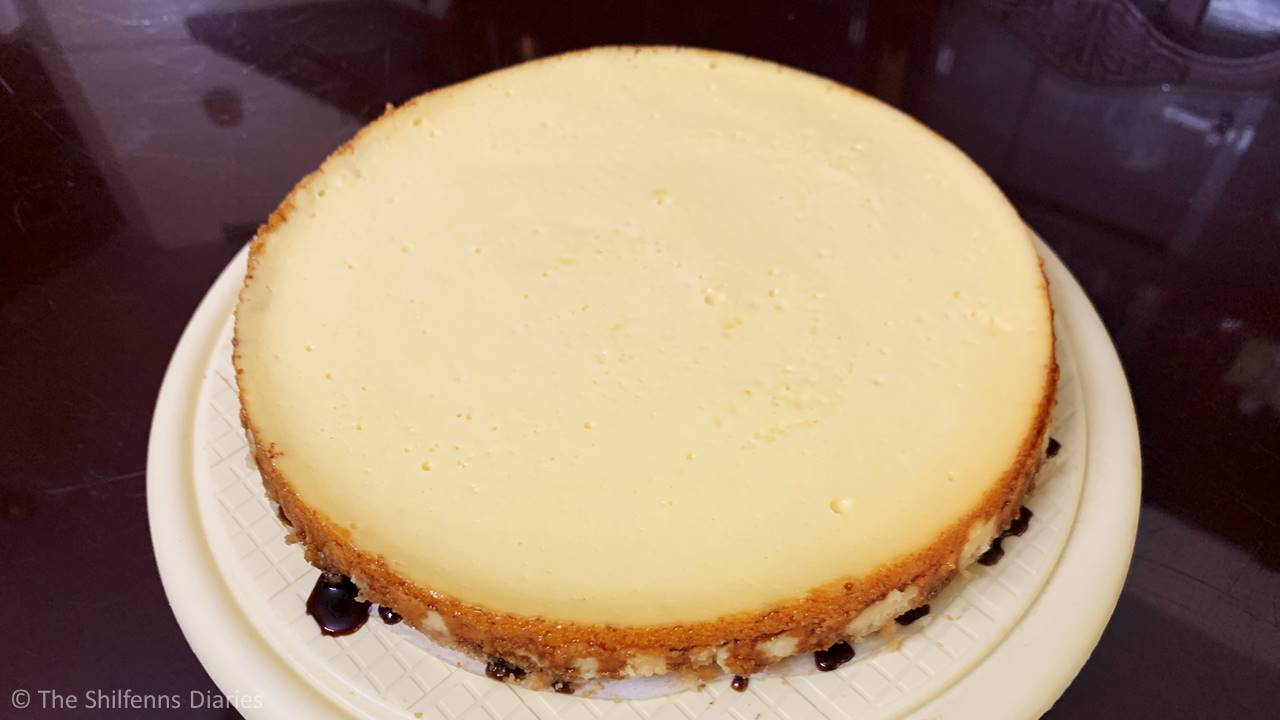
So here I am with another ‘cheesy’ post this weekend 😜. I finally gave classic cheesecake a go, and let me just say, it was a lot easier than I’d imagined! I baked this one for Easter, mostly because I’d been wanting to try it for ages, and the holiday seemed like the perfect excuse. It’s a no-frills, baked cheesecake with a simple cracker base, and although I didn’t experiment much this time around, I was really happy with how it turned out. So were the guests! Everyone loved it, even without any fancy toppings or sauces.
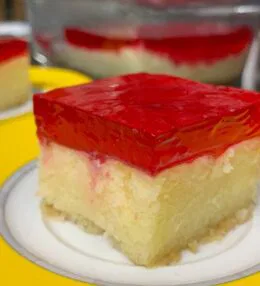
This was my first attempt at making a proper cheesecake from scratch, and I was pleasantly surprised at how straightforward the whole process was. It took me about an hour and a half in total, and aside from wishing I’d remembered to take better pictures once it was sliced, I wouldn’t change a thing. I do recommend adding a fresh cream topping for that extra creamy finish (the one in the photo doesn’t have it), but the cheesecake holds its own either way. Definitely give this a try — it looks impressive, tastes indulgent, and is much less daunting than it sounds!
Ingredients
For the Base:
For the Filling:
For the Topping:
Directions
Now that you’ve got all your ingredients ready, it’s time to bring this creamy dream to life! Don’t be intimidated! This classic cheesecake comes together step by step, with a buttery base, a silky filling, and a cloud-like topping. Whether you're baking it for a celebration or just because you deserve something sweet, follow along and watch the magic unfold.
Prepare the base: In a mixing bowl, combine all the base ingredients until evenly moistened. Press the mixture firmly into the bottom of an 8-inch springform pan to form an even crust.
Bake the base: Preheat the oven to 350°F (180°C) and bake the prepared base for 10 minutes. Remove and let it cool slightly while you prepare the filling.
Mix the cheesecake filling: In a large bowl, cream together the cream cheese, sugar, salt, and vanilla extract until smooth and lump-free. Use a low to medium speed to avoid incorporating too much air.
Add the yolks: Add the egg yolks to the mixture and beat gently on low speed until just combined. Avoid overmixing at this stage.
Whip and fold the egg whites: In a clean, dry bowl, beat the egg whites until stiff peaks form. Carefully fold the whipped egg whites into the cream cheese mixture using a spatula, just until incorporated. Do not overmix, as this can deflate the air you've whipped in.
Bake the cheesecake: Reduce the oven temperature to 325°F (160°C). Pour the filling over the prepared base and bake for about 1 hour, or until the sides are set but the center still has a slight wobble. If the center appears too jiggly, bake for an additional 10 minutes and check again.
Cool and chill: Once baked, remove the cheesecake from the oven and allow it to cool completely on a wire rack. Once at room temperature, refrigerate until fully chilled.
Prepare the topping: In a chilled bowl, whip the cream with sugar and vanilla until soft peaks form. Spread the whipped cream evenly over the chilled cheesecake.
Chill overnight: Refrigerate the cheesecake overnight to allow the flavors to set and the texture to firm up.
Serve and enjoy: Slice and serve the cheesecake chilled. Best enjoyed with a hot cup of coffee or as a show-stopping dessert at your next gathering.
Conclusion
And there you have it! A rich, creamy, and perfectly indulgent cheesecake that’s sure to impress! Whether you’re serving it up at a festive gathering or sneaking a chilled slice straight from the fridge, this dessert hits the sweet spot every time. Don’t forget to add that pillowy whipped topping — it’s the perfect finishing touch. Try it once, and you’ll be finding excuses to bake it again and again!

Leave a Review