
-
Prep Time1 day
-
Cook Time1 hour
-
Serving12
-
Serv Size1 piece
Ever since I was little, one of my clearest memories of visiting India during our vacations from Saudi Arabia was the irresistible aroma of Halwa wafting through my grandmother’s kitchen. She had a quiet magic in the way she made each one, and although I never got to help her directly, those flavors were unforgettable. This wheat Halwa is a basic yet classic version I recently revisited through my mom’s handwritten cookbook. It’s the same one I used to watch her make at home, and helping her in the kitchen was how I learned to appreciate the effort and richness behind every spoonful.
This Halwa turned out just as I remembered: rich, silky, and melt-in-the-mouth, with all the comfort and nostalgia packed into every bite. Although the actual cooking time is under an hour, the prep requires soaking and grinding the wheat, making it a bit of a process — but that’s part of what makes Halwa special. Like most traditional sweets, it demands stirring, patience, and generous helpings of ghee. Although the boys are too little to appreciate it, I wanted to not only recreate that cherished flavor but also document the full recipe and process.
Ingredients
Wheat Halwa
Directions
Making traditional wheat halwa from scratch may seem like a long process, but each step has its purpose and its own quiet rhythm. From soaking whole wheat overnight to patiently stirring the ghee into the thickening mixture, this recipe is all about slowing down and enjoying the ritual. Here's how you can recreate this rich, nostalgic sweet in your own kitchen, just the way it's been passed down for generations.
Soak the wheat: Rinse the whole long wheat thoroughly, then soak it in plenty of water overnight to soften.
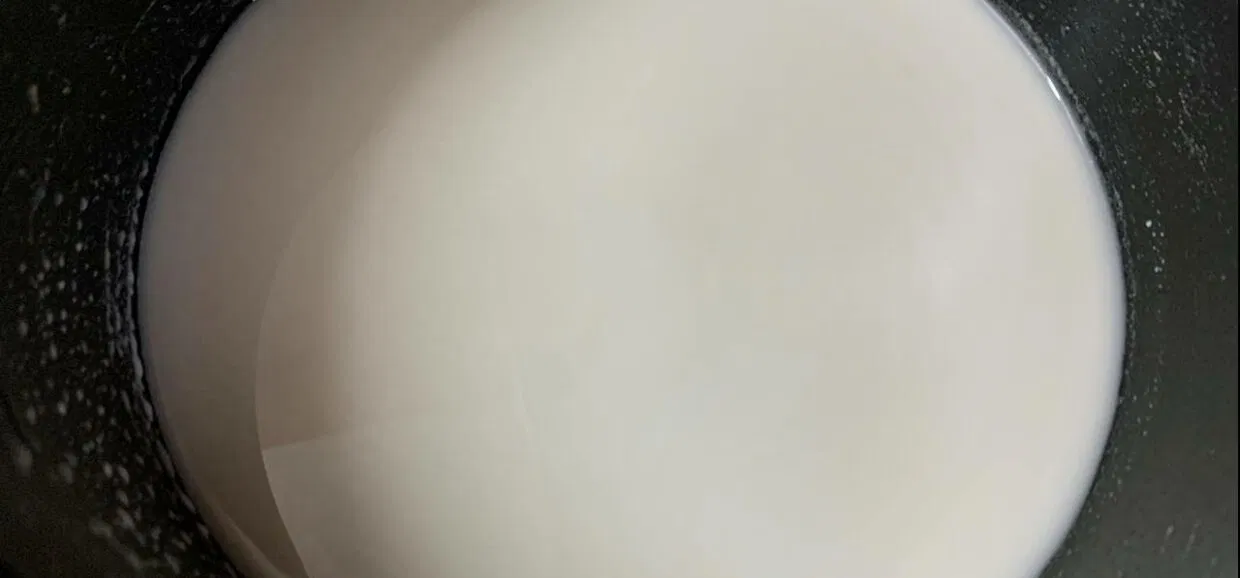
Grind to a creamy paste: Drain the soaked wheat and transfer it to a Mixie or blender. Add about 1/4 cup water and blitz until the mixture turns fine and creamy. Add a little more water if needed, just enough to help with sieving in the next step.
Sieve to remove bran: Pour the ground mixture through a fine sieve to separate the liquid extract from the bran residue.
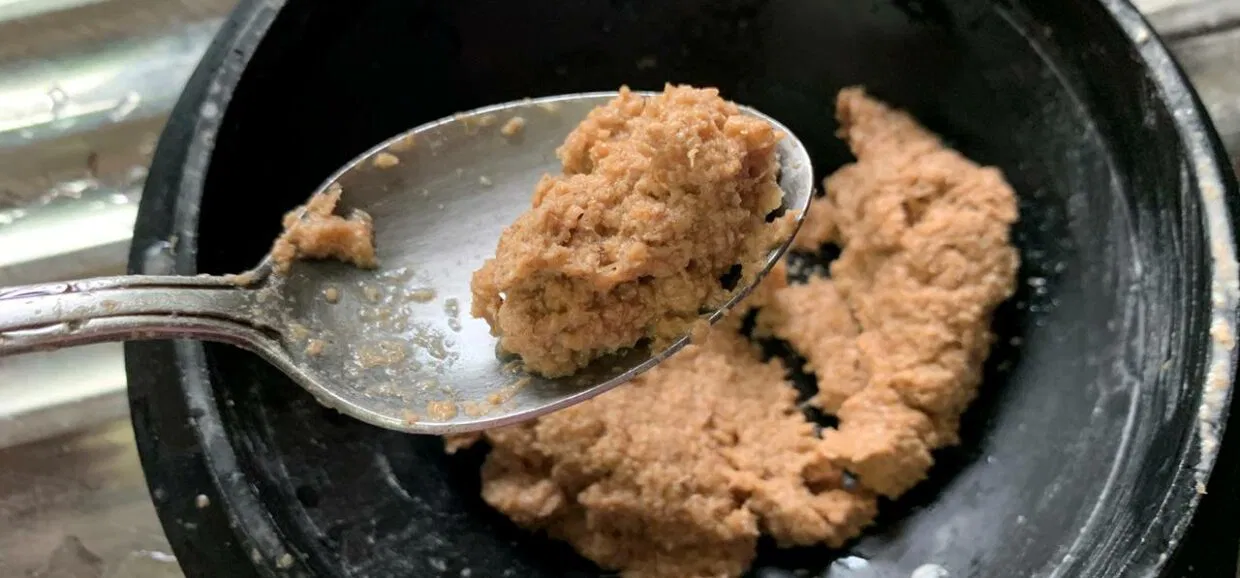
Double-sieve for smoothness: For a smoother result, run the mixture through a second sieve or a muslin cloth to remove any remaining bran particles. The bran will look coarse. Discard it and set the filtered contents aside.
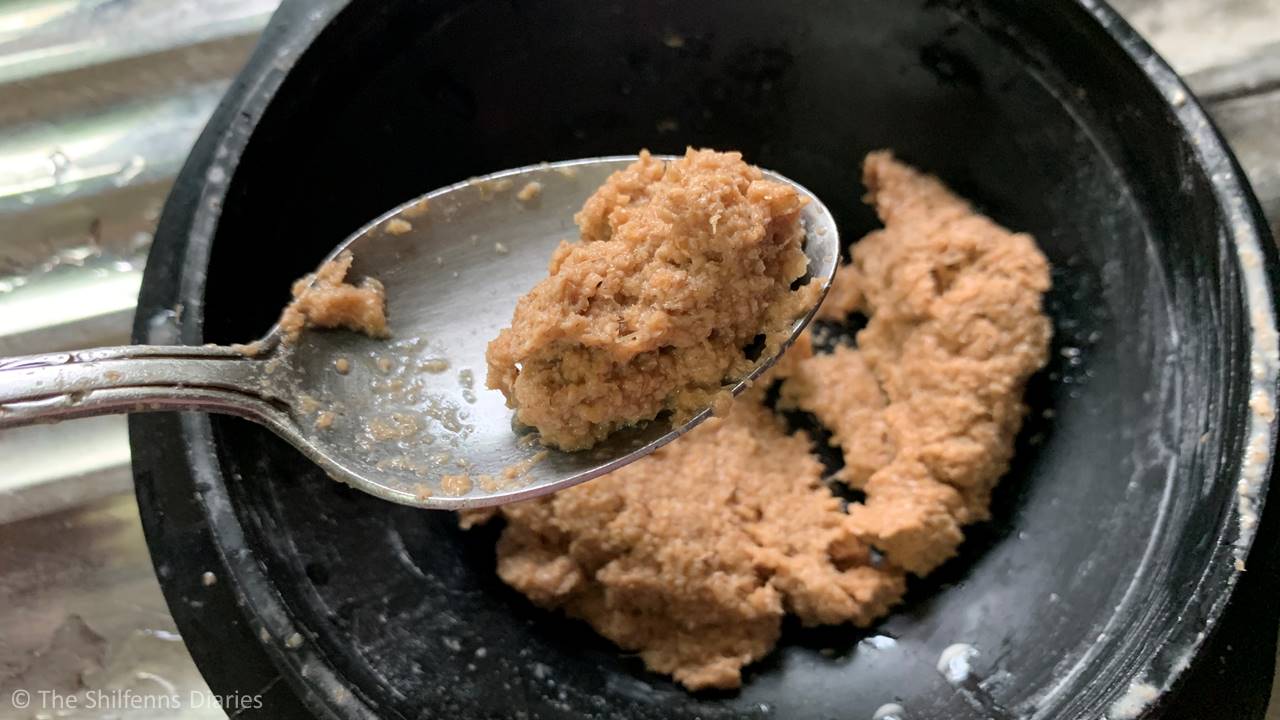
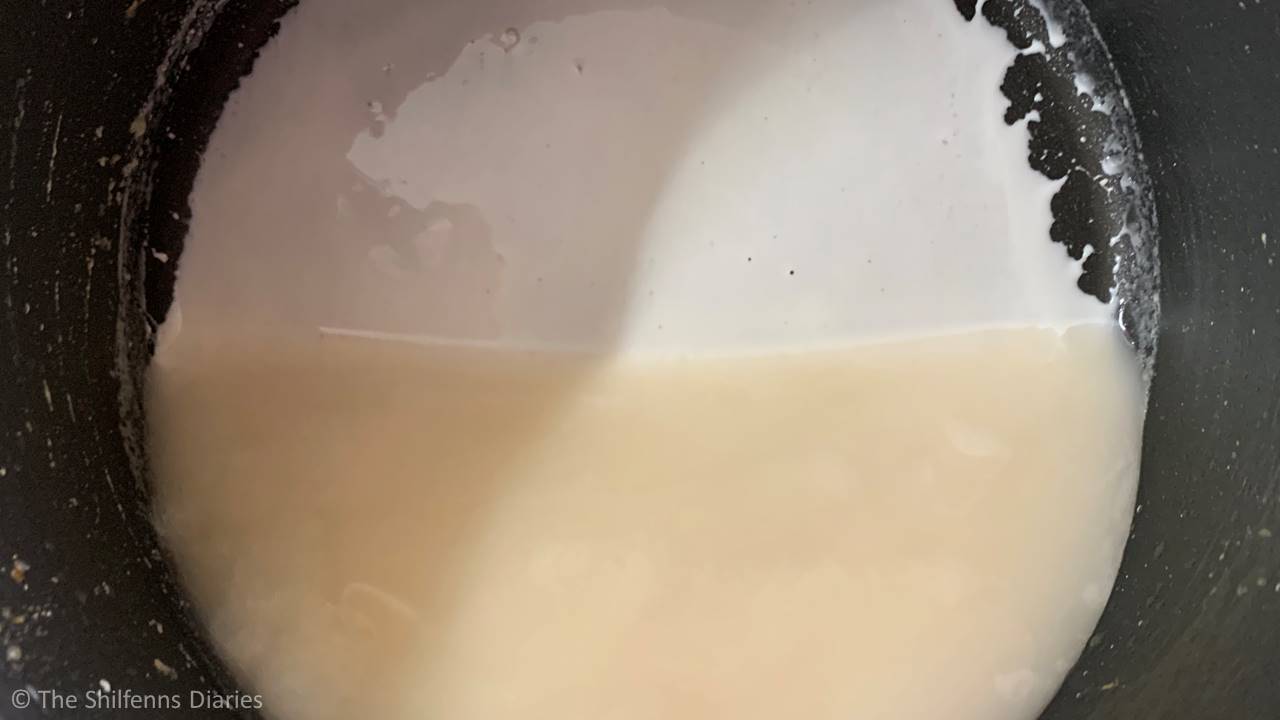
Let the mixture settle: Allow the sieved liquid to rest undisturbed so that the wheat sediment settles at the bottom. This may take a bit of time.
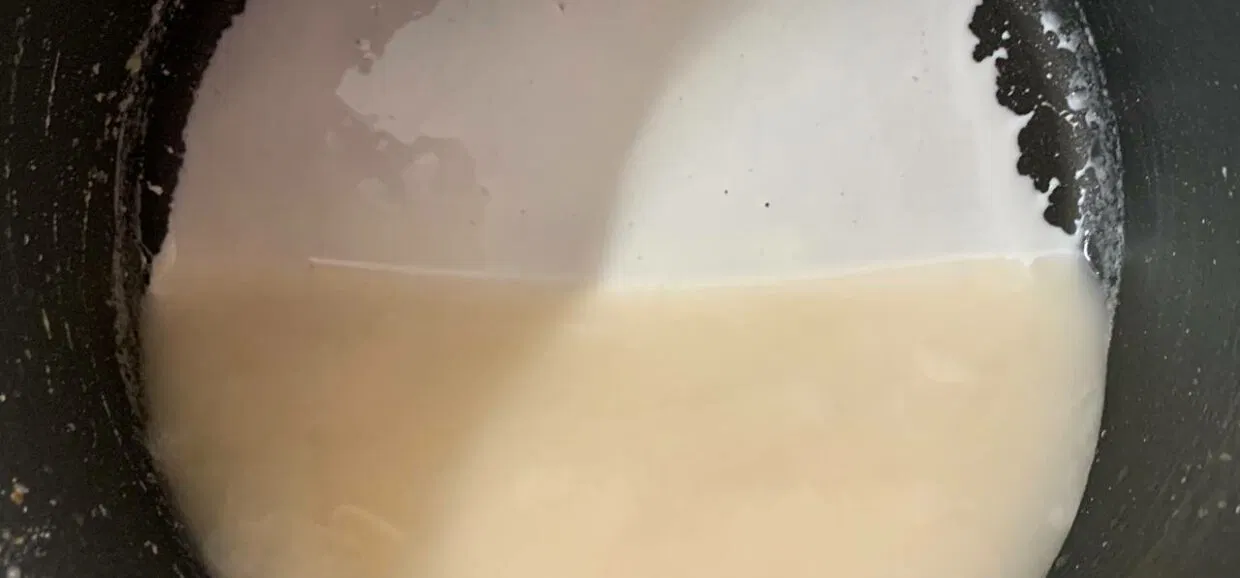
Separate the liquid: Once settled, gently pour off the thin liquid floating on top, leaving only the thick sediment behind. This concentrated base is what you’ll use to make the Halwa.
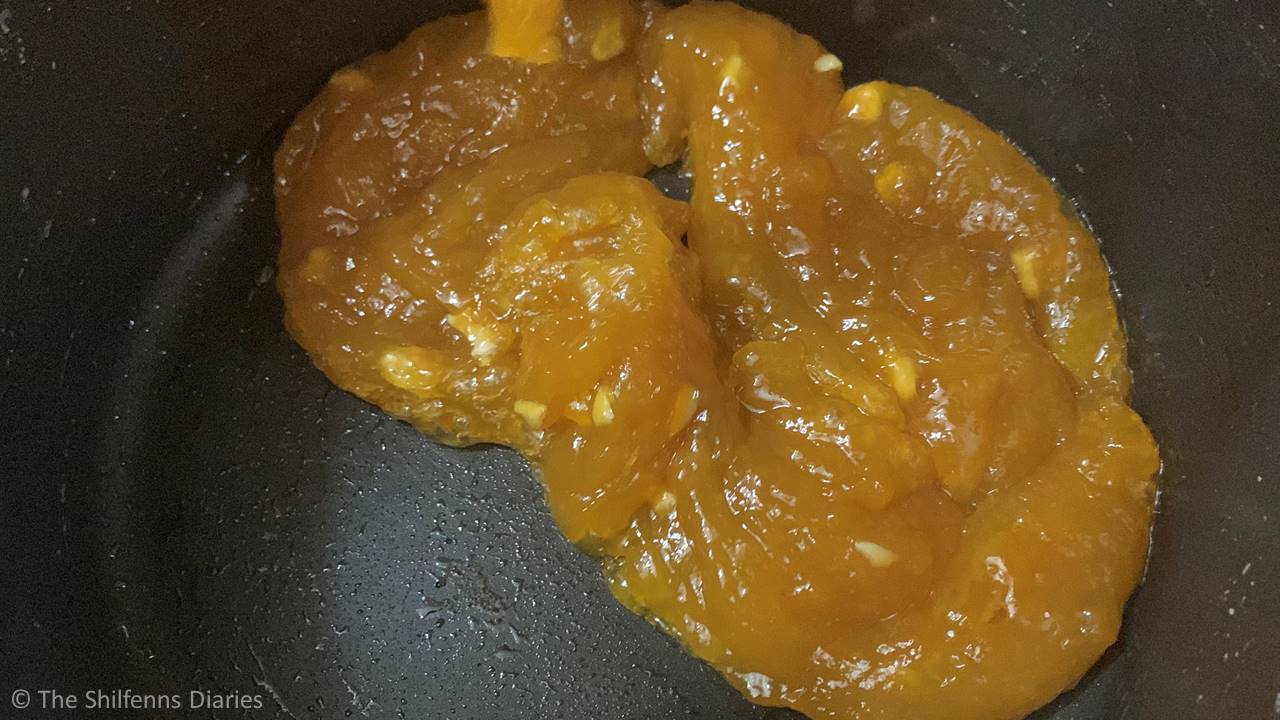
Start cooking the halwa base: Transfer the sediment into a non-stick pan and place it on medium heat. Add the sugar and stir continuously to dissolve it fully. Add a few drops of food coloring at this stage if using.
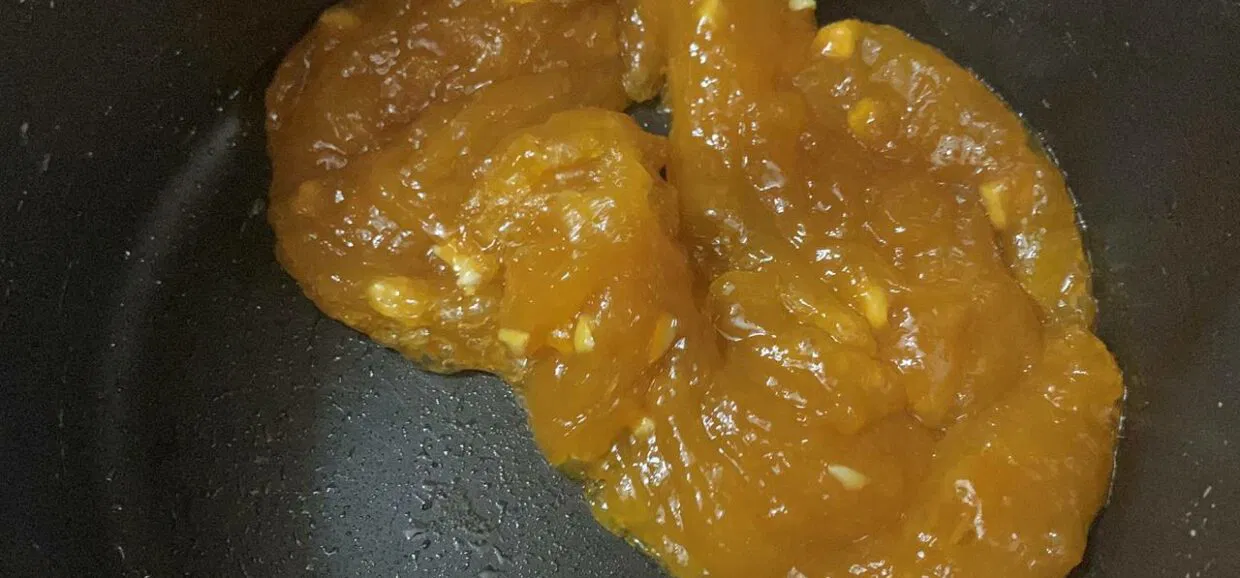
Add ghee in stages: Once the mixture begins to thicken, add 2 tablespoons of ghee. Stir well until it’s fully absorbed. Repeat this process, adding 2 tablespoons of ghee at a time and stirring thoroughly after each addition.
Check for doneness: Continue stirring until the mixture thickens significantly, begins to leave the sides of the pan, and can be easily cut or separated with your ladle. The Halwa should stop sticking to the ladle. If it still sticks to your teeth when you taste it, cook a little longer.
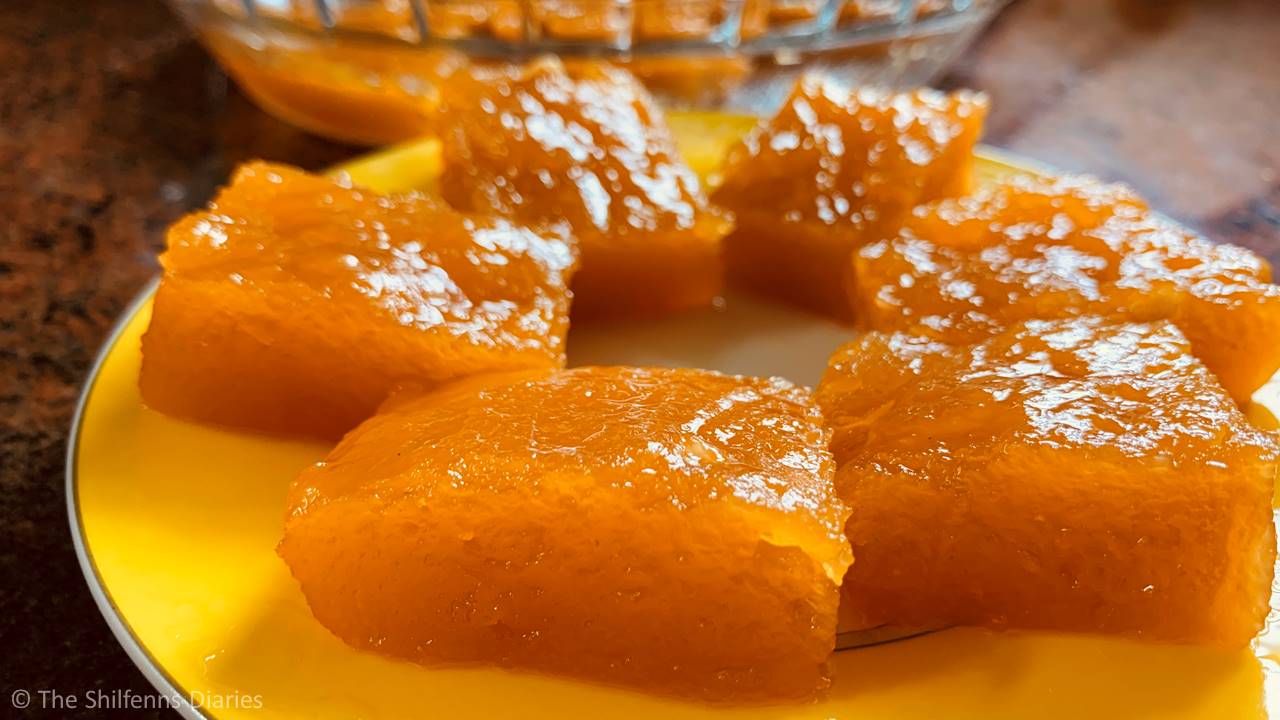
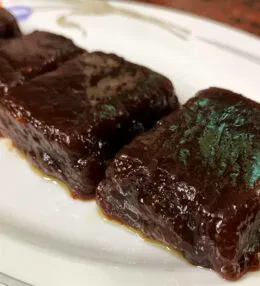
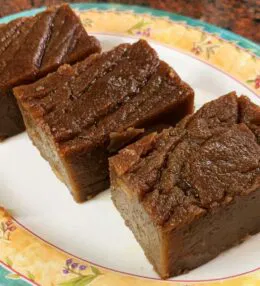
Set and Slice: Transfer the hot mixture onto a well-greased plate or tray. Flatten it out evenly, let it cool, then cut into squares or diamonds.
Conclusion
Golden, ghee-laced, and irresistibly smooth, this traditional wheat halwa is a labor of love that rewards your time and effort with every bite. The process, from soaking and grinding the wheat to stirring in generous spoonfuls of ghee, is as much about patience as it is about flavor. Whether you're reviving childhood memories or creating new ones with your own family, this recipe is a beautiful way to celebrate the warmth and sweetness of tradition. Serve warm and share generously.


Leave a Review