
-
Prep Time20 minutes
-
Cook Time40 minutes
-
Serving12
-
Serv Size1 piece
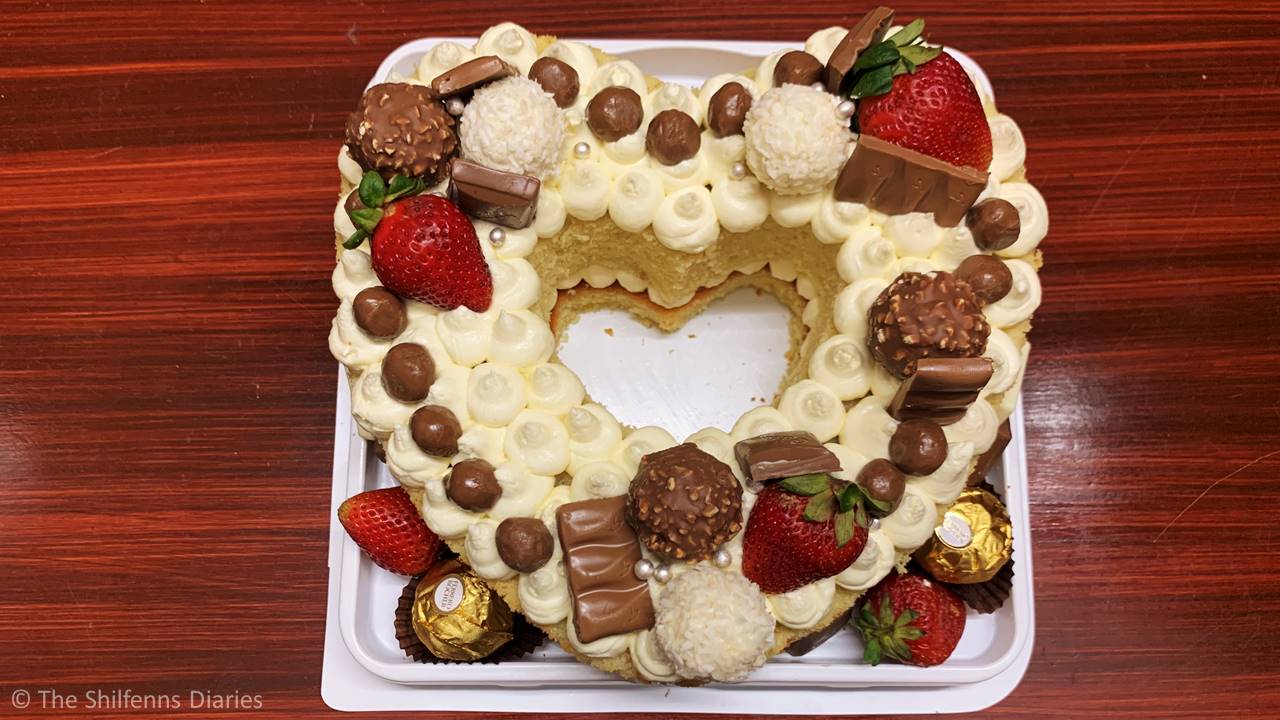
This cake was inspired by a number of Instagram cakes I came across when I was looking for something fancy, yet a little different, to make for my cousin’s engagement. I loved the rustic charm of the “naked” style, where the beauty of the cake layers peeks through instead of being hidden under heavy frosting. It has that chic, effortless look that feels elegant enough for a celebration, yet doesn’t require the polished precision of a fully covered cake.
At its core, it’s just a classic vanilla buttercream cake with a buttercream filling and topping, but the way it’s decorated makes all the difference. Decorating this cake is surprisingly fun and easy—there’s less pressure to make it smooth, yet it still looks stylish and sophisticated. A couple of days later, I tried a similar version with a buttercream–fresh cream topping, which turned out just as pretty, so that’s a variation you could easily try too.
Ingredients
For the Cake:
For the Filling and Topping:
Directions
The fun part with this cake lies in the assembling and decorating, where you can get creative without worrying about making a perfectly smooth finish. The “naked” style gives you a rustic charm, and the buttercream blobs provide a soft base for toppings like fresh strawberries, chocolates, or any other decorations you love. With just a simple piping technique, you can turn a basic cake into a showstopper that’s as easy to make as it is stylish.
Beat the Eggs and Vanilla: In a mixing bowl, beat the eggs together with the vanilla extract until the mixture turns light, fluffy, and slightly pale.
Cream the Butter and Sugar: In a separate bowl, cream the butter and caster sugar together until smooth and well-blended.
Combine Eggs and Butter Mixture: Add the butter-cream mixture to the fluffy eggs and gently beat until fully incorporated.
Sift and Fold in the Dry Ingredients: Sift the flour and baking powder together, then gradually fold them into the wet mixture until evenly combined. Avoid over-mixing to prevent a dense cake.
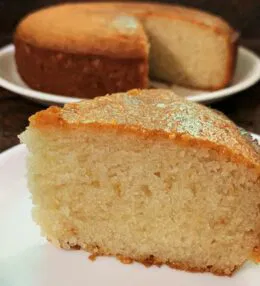
Bake the Cake: Pour the batter into a pre-greased 8-inch baking pan. Bake in a preheated oven at 360°F (gas mark 4) for 35–45 minutes, or until a wooden pick inserted into the center comes out clean. Allow the cake to cool completely before assembling.
Prepare the Buttercream: While the cake cools, whip the butter until light and fluffy. Gradually fold in the caster sugar, a little at a time, ensuring it is fully incorporated before adding the next batch.
Incorporate Fresh Cream (Optional): If using fresh cream, whip it separately to stiff peaks. Gently fold it into the buttercream mixture and refrigerate until ready to pipe.
Slice the Cake: Once fully cooled, slice the cake horizontally into two even halves. Place the halves side-by-side on a tray with the inner sides facing upwards.
Soak with Sugar Syrup: Use a toothpick to poke small holes across both halves. Lightly drizzle sugar syrup over the surface, ensuring even coverage to keep the cake moist.
Pipe Buttercream on the Bottom Layer: Pipe blobs of buttercream starting from the outer edges and moving toward the center of the lower cake layer. This creates a cushion for the filling and decorations.
Add the Strawberry Filling: Sprinkle diced strawberries over the buttercream blobs, keeping them slightly inward from the edges to avoid spills.
Assemble the Cake: Gently place the top half of the cake over the buttercream layer, ensuring it aligns correctly. Avoid pressing down too hard to keep the blobs intact.
Pipe Buttercream on Top: Pipe the remaining buttercream on the top half, again starting from the edges and moving toward the center.
Decorate the Cake: Top the buttercream with fresh strawberries and chocolate pieces as desired for a visually striking and delicious finish.
Conclusion
Once decorated, your cake is ready to wow! The layers of moist cake, rich buttercream, and fresh toppings make every bite a delight. This cake looks beautiful without requiring precise frosting skills, so you can enjoy both the process and the final result. Serve it for birthdays, celebrations, or just a weekend treat, and watch how quickly it disappears!

Leave a Review