
-
Prep Time15 minutes
-
Cook Time20-30 minutes
-
Serving20
-
Serv Size1 piece
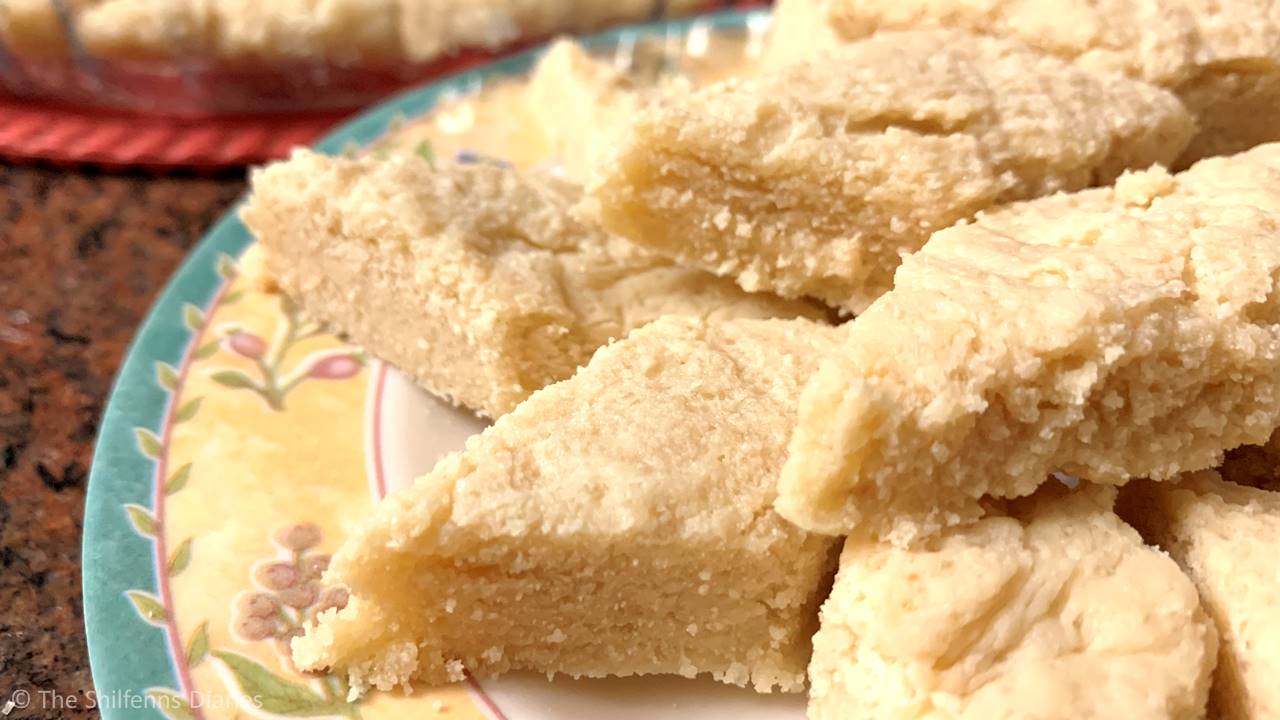
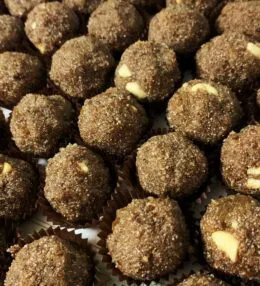
Here’s Burfi #3 from my mom’s treasured cookbook: a simple yet indulgent almond sweet that brings back memories of both festive celebrations and those quiet evenings when a homemade treat would magically appear in the kitchen. Made with just a few pantry staples, this almond burfi is rich, gently chewy, and full of nutty flavor (in taste, not texture!). Though this is only my first few tries making it myself, I followed her method of soaking and peeling the almonds from scratch( a bit time-consuming, but so worth it for that pure, wholesome taste 😍).
The recipe itself is straightforward and comes together easily in under an hour, but like most burfi-style sweets, the real challenge is in the stirring. Getting the mixture to the right consistency demands patience and some serious arm work, especially if you’re making a larger batch. I kept it small this time, and the effort was manageable. The result? A rich, fragrant burfi that my boys absolutely loved! If you’re looking for a nostalgic Indian sweet that doesn’t overwhelm you with complicated steps, this one’s definitely worth a try.
Ingredients
Badam (Almond) Burfi
Directions
Making this almond burfi is a simple but satisfying process, one that rewards a bit of patience with a rich, melt-in-the-mouth sweet. While the ingredients are few and familiar, the real magic lies in the stirring and the moment when the mixture transforms before your eyes. With a little prep the night before and some attention at the stove, you'll have a deliciously nutty treat ready in under an hour.
Soak and peel the almonds: Start by soaking the almonds in water overnight or for at least 6-8 hours until the skins loosen. Once soaked, drain the water and peel off the almond skins.
Blend into a smooth paste: In a mixie or high-speed blender, combine the peeled almonds and sugar. Add a little milk at a time and blitz until you get a smooth, creamy paste. Avoid adding too much milk. Add just enough to help the mixture blend well.
Cook the almond mixture: Transfer the almond-sugar paste to a non-stick pan and place it on medium heat. Stir continuously to avoid sticking or burning.
Incorporate the butter: Add 50g of butter to the mixture and stir until fully melted and absorbed. Repeat this process in two more batches, adding 50g of butter at a time and stirring well after each addition until all the butter has been incorporated.
Stir until it thickens: Continue to stir patiently as the mixture begins to thicken. This step requires a bit of effort. Keep going until the mixture starts to come together.
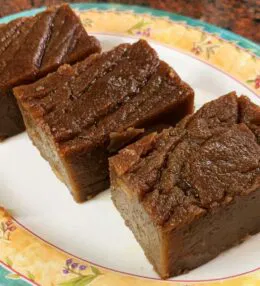
Check for doneness: The burfi is ready when the mixture begins to leave the sides of the pan, becomes noticeably lighter in color, and shows a slightly honeycomb-like texture as you stir. This indicates that the mixture has reached the right consistency.
Set and slice: Quickly transfer the mixture to a greased plate or tray and spread it out evenly. While still warm, score it into squares or diamonds. The burfi hardens as it cools, so missing this step will make it very difficult to cut into pieces. Let it cool completely before separating the pieces.
Conclusion
And there you have a delicious batch of rich, chewy almond burfis that are well worth the effort! The subtle nuttiness, creamy texture, and hint of sweetness make them a perfect indulgence for festivals, celebrations, or even just a well-deserved treat at home. If you're making a bigger batch, pace yourself during the stirring, or get help from a friend! It’s where the real work lies, but also where all the flavor and texture come to life. Enjoy every bite, and don’t be surprised if they disappear faster than you expected!

Leave a Review